A couple of months back I wrote a review on the Olight Sphere which is a fantastic little LED globe that you can attach to any magnetic surface around your home, or, you can stick the 3M magnet that it comes with to any other surface so that you can use it on a normal wall. You could use it as a night light for your children, a reading light in your bedroom, or you can get a bunch of them together and use them for party lights to bring some atmosphere to your home. They are a fantastic little light, and they are built tough as well, which I can say with some authority, because my youngest daughter has had our one for a while now and it is still going strong.
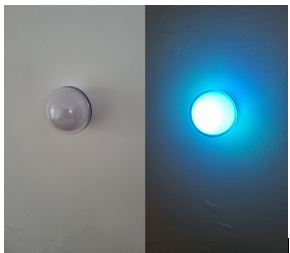
Image 1: Sphere attached to the wall.
I bring up the Olight Sphere in this review of the Ostrip, because these are two products that go hand and hand and work incredible well together.
The Ostrip is a new product from Olight that has incredible potential for a range of different uses. First let’s have a look at what the Ostrip is and then at what it can do. When you order the Ostrip it will come in this black box with a sealed storage bag inside keeping all of the contents that come in the packaging safe. This is something I emphasize a lot in these reviews, because you want to make sure that your product comes to you as ordered.
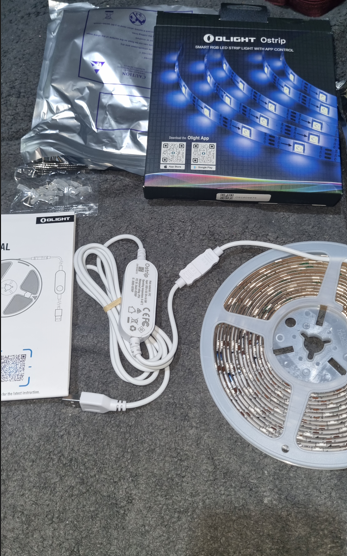
Image 2: Ostrip box contents.
The Ostrip comes in the silver packaging you can see in the image above. Just a little tip with that silver bag, make sure you don’t make the mistake I did and accidentally cut the bottom of the storage bag. I was careful not to damage anything inside the bag, of course, but I did not check the packaging first, and so I did not realize that it opens at the top like a glad bag, or something of that sort, and is therefore reusable. If I had have been a little slower to open the packaging I would have been able to store my Ostrip back in the same package if I had wanted to. Just keep that in mind when you are taking it out of the box and before you open it fully.
What you get in the box is the Ostrip itself, which comes on the white plastic roller you can see in the image above. A small plastic bag with clips and screws for securing it to your wall, and an instruction booklet on how to use the Ostrip are also in the bag. There are 8 screws and 8 clamps, but the Ostrip itself also comes with 3M tape all along its length, so the clips only really act as extra support, because that tape is high quality stuff. As you can see, I had no problem attaching the Olight to my roof in my living room:
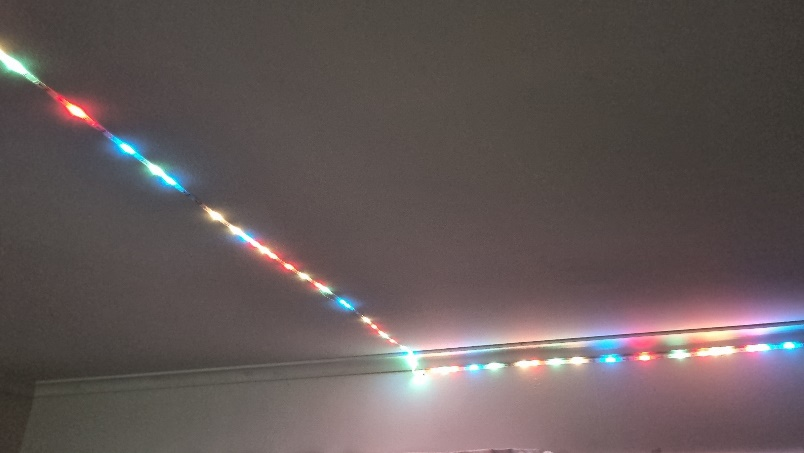
Image 3: Olight attached to my wall and roof.
You can clearly see that the Olight is attached to my wall and roof really well in this image, but my camera does not do the Ostrip lighting justice. This light is incredibly vibrant and lights up the room really well. It adds a colourful glow to the whole room which gives it a nice atmosphere, of your choosing, as there are heaps of settings with this light.
The Ostrip is 5 meters long, and the power cable is another 1.5 meters long. This cable connects to any standard USB power source. I have my Ostrip connected to a portable battery back, because where I set it up there are no plugs. But you could plug it into a standard phone charger, a USB hub, a port on your TV, or some other USB charging device, as long as it is capable of 5v at 1A. The light strip itself is also waterproof, but the controller itself is not. So, if you were to set this up outside you would want to make sure you take care to keep the switch protected from the elements.
In fact, setting this up outside is not a bad idea for this light, especially as it is the Christmas season. You can change the light settings on this Ostrip to have so many different lighting patterns, and I have already set it up to have red and green lighting for the Christmas season, which the kids absolutely loved.
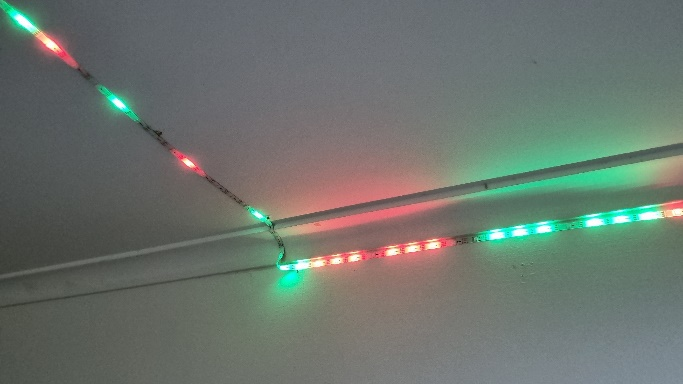
Image 4: The Olight on red and green random setting.
As you can see in this image the Olight is on the red and green colour settings. The program it is on here is the DIY setting, and I have set the light to flash to random, which is why some of the lights are not lit in the image. If this was a video you would see the lights flashing in a random pattern. This is the setting my daughter loves the most, and when I put it on she starts singing Christmas carols to go along with the lights. But this is only one of many settings.
If you look at the GIF below you will see that I have set the light to run in a red, white and blue setting, the colours of the Aussie flag. The settings on the Ostrip are incredibly diverse.
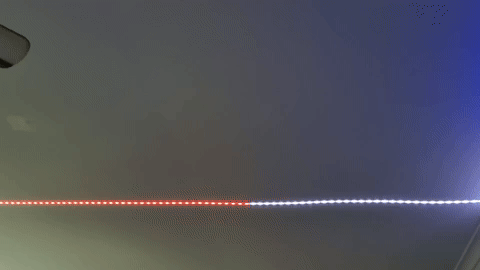
Image 5 (GIF) The Olight on red, white and blue setting.
When you first take the Ostrip out of the packet and plug it in, you will find there are only three colour settings you can use. You can have red, green, or blue, and you can change the brightness level of the Ostrip from as low as 8 lumens with the red light to 55 lumens, 20 lumens with the blue light up to 150 lumens, or 4 lumens with the green light up to 36 lumens. So, straight out of the box you can use the switch to get a decent range of light settings. But if you want to get the full usage out of this light you will need the Olight App.
Previously, with the Olight Sphere, you needed to install the Olight Hub app, now you just install the one Olight app, which you can find on your phone’s app store. To connect, open the app and choose the setting allowing you to add a light, and click the switch on the Ostrip 3 times until it is flashing green. Then you will get an option to choose the Ostrip, it will connect via Bluetooth, and you will see this screen:
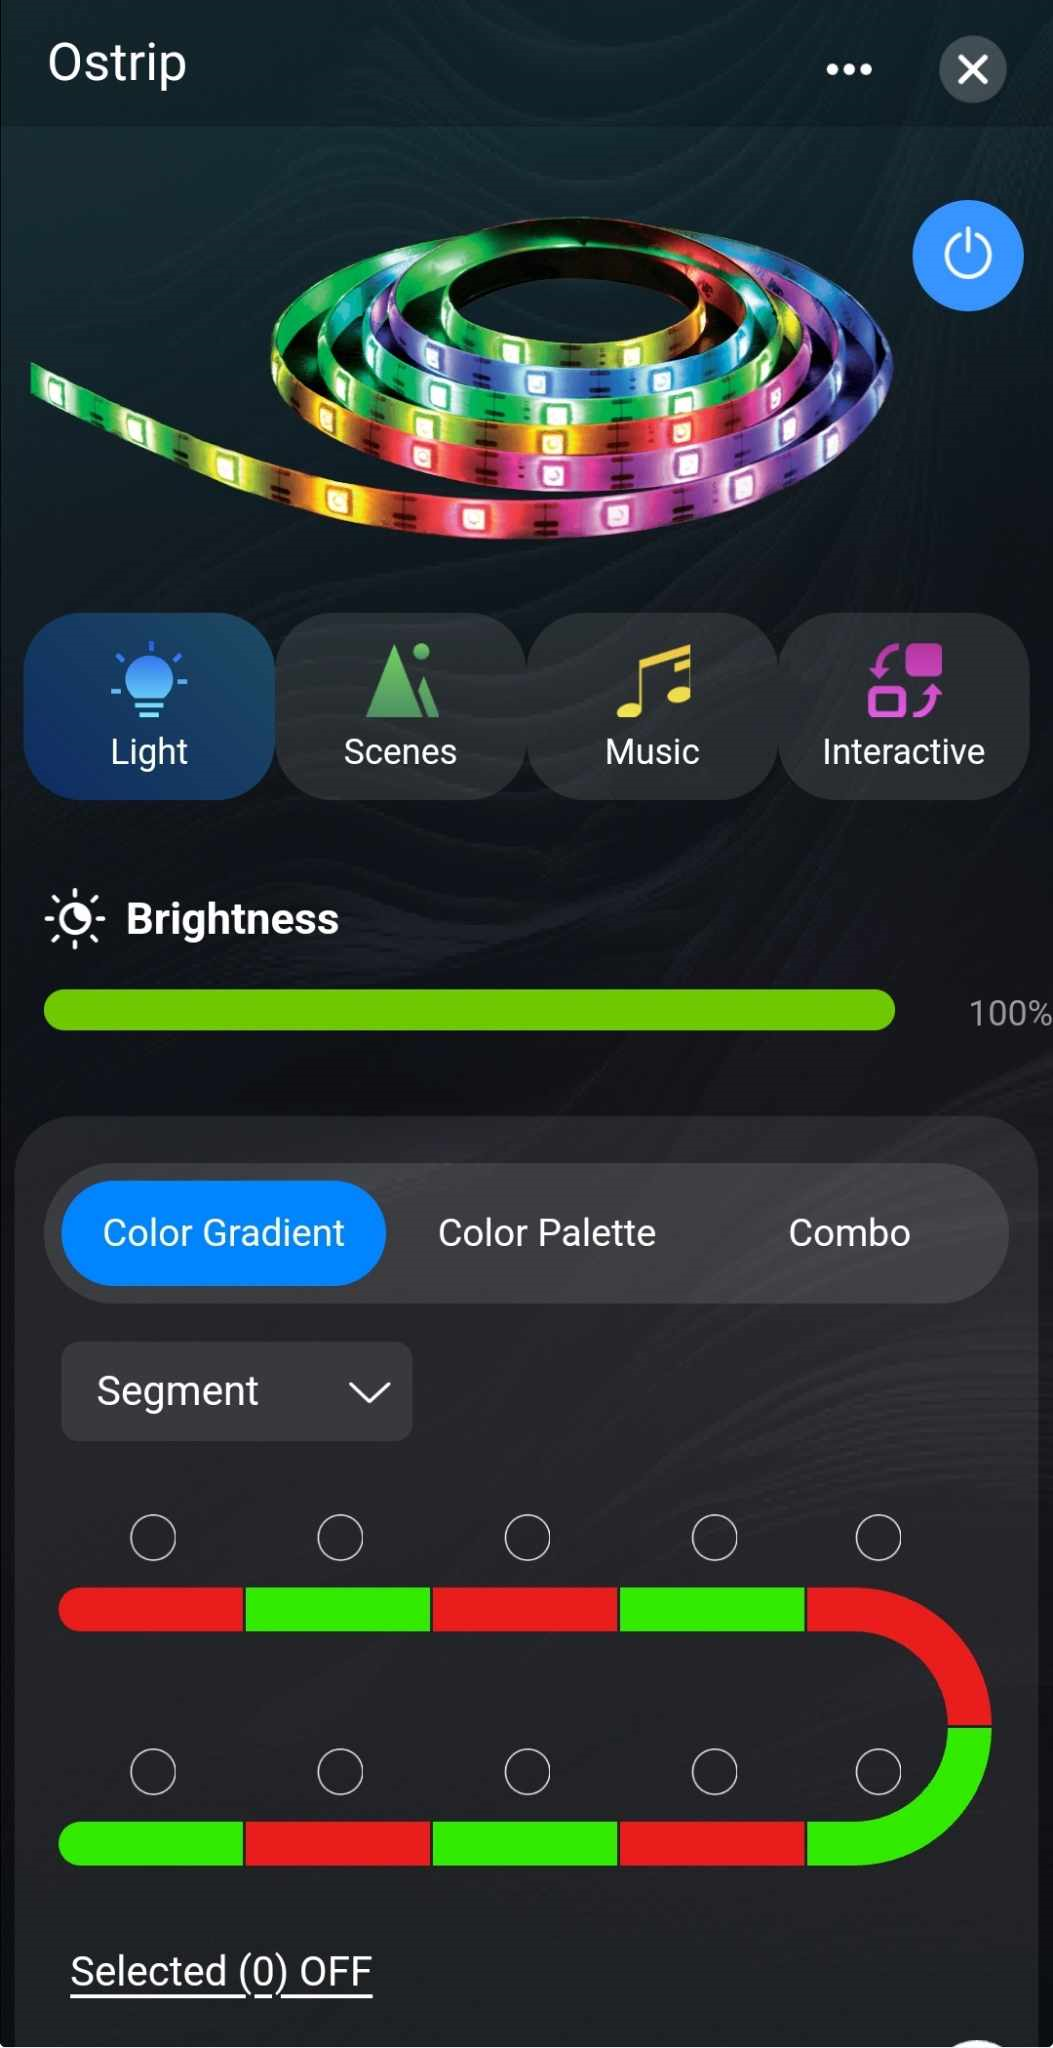
Image 6: Olight App Ostrip control screen.
As you can see you have heaps of settings here. You have the on/off switch at the top right, you have settings under Light, Scene, Music and Interactive. And you will find lots of choices within those different parts of the app. The options feel endless. And as I said above, you can create your own custom settings.
If you look at the next two images, you will see that what you see on the screen corresponds to what the lights look like:
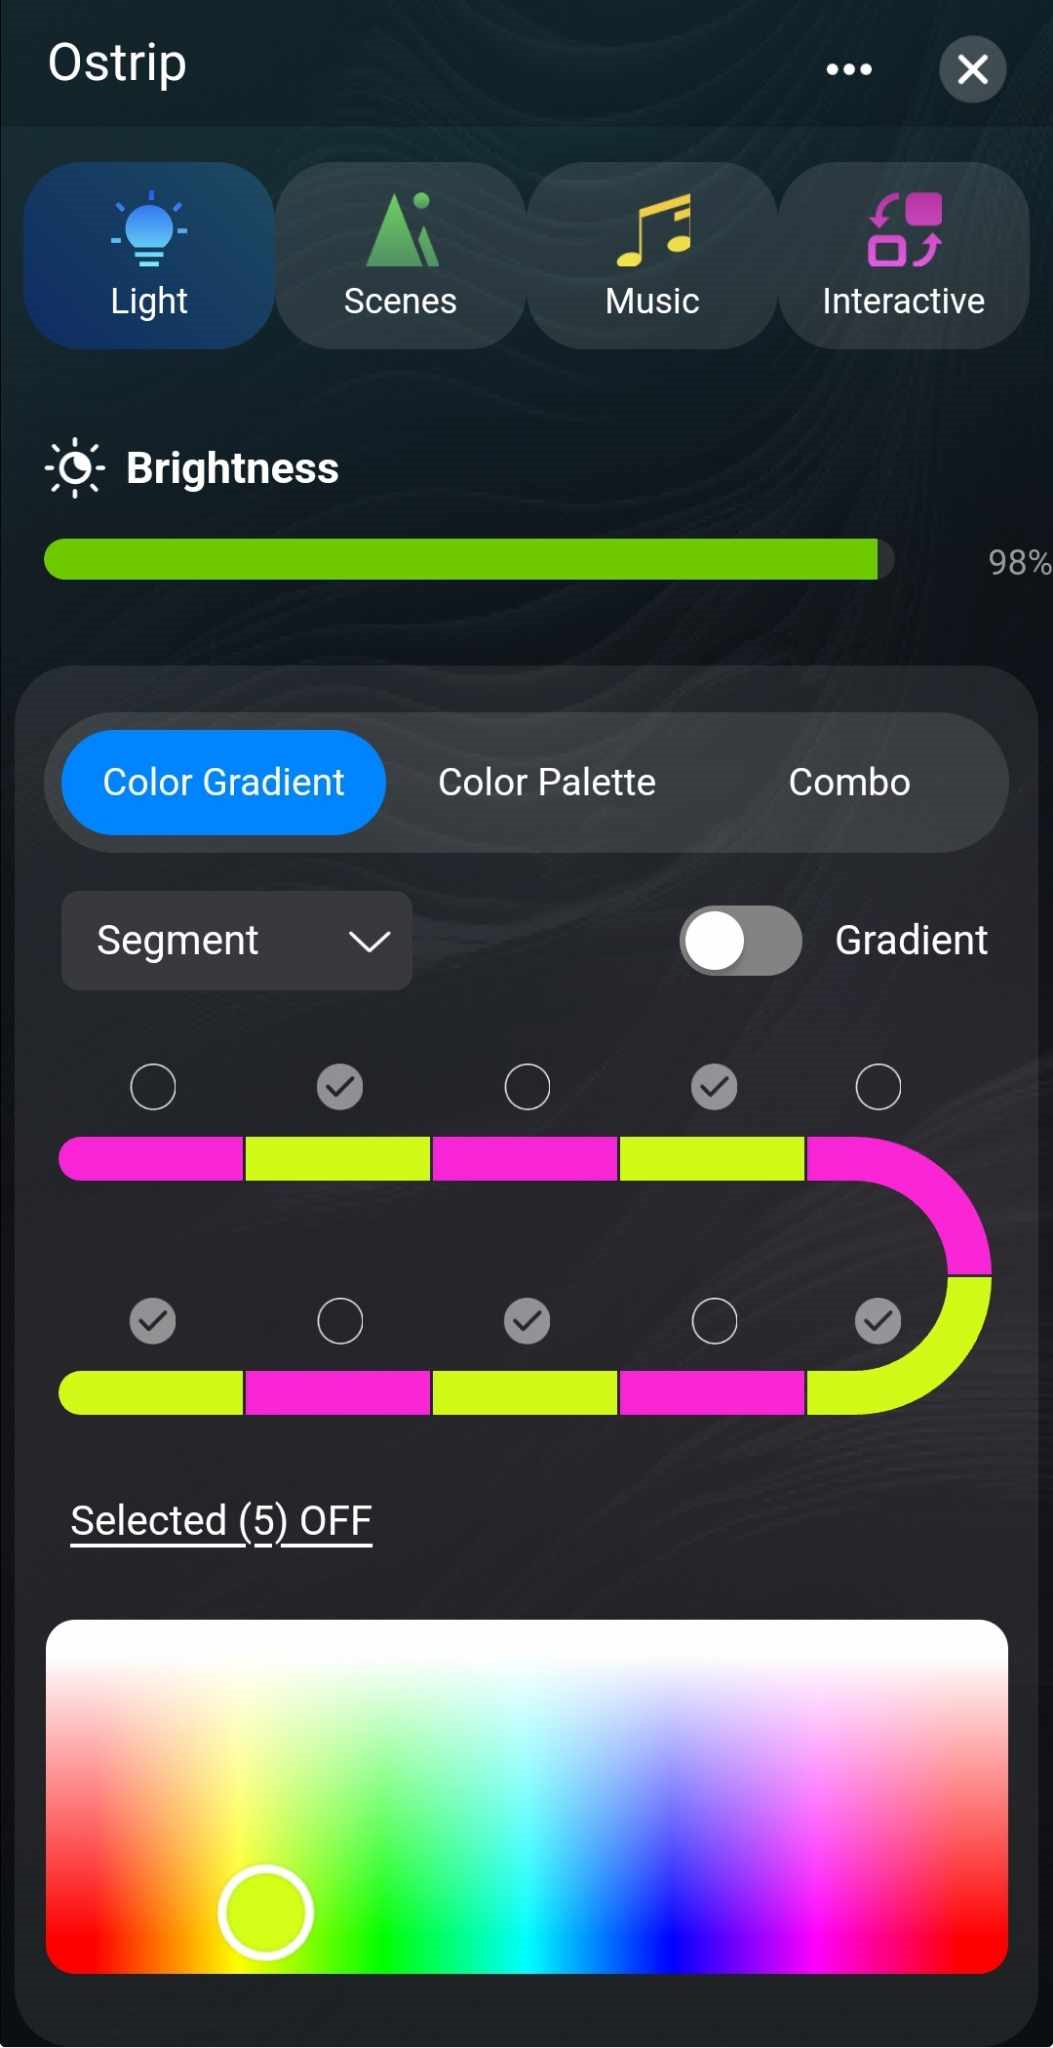
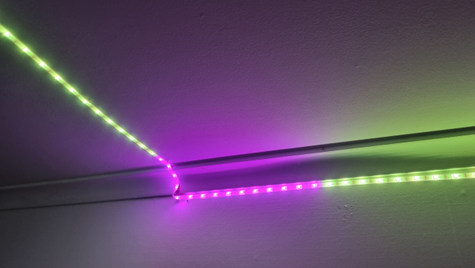
Image 7 and 8: The Ostrip set to segment, purple and yellow.
The app is easy to use as well. It is very intuitive and once you get the hang of the settings you can play around with all sorts of different light displays. And, like the Olight Sphere, you can set this to flash along with your music, which is just a really cool setting. This is a fantastic light if you are having a games night with some friends and want alternative lighting. It is a fantastic choice if you are having a Christmas get together at your house and you want some flashing lights to flicker along with your Christmas music. But on top of all of this, you can simply use it as standard dimmer light under which to relax and read a book, or play a boardgame, or spend some time with your spouse. It has so many practical uses, and like all other Olight products is incredibly high quality.
Another way to use this light, would be to decorate the front of your house as part of a Christmas display as well. These lights are bright, they will stand out wherever you put them. One other use I considered was sticking them to the roof basket of my 4wd all along the underneath, so that I could have some alternative lighting while camping. That would just be for fun, kind of like Neon running lights on a car. But that idea aside, just be creative. You might want to put these in your child’s room as night light, because you can dim them right down, or you might want to use them for a party setting. It is really up to you how you use the Ostrip, because these lights can be set up anywhere. All you need is some kind of USB power source to run the Ostrip, and everyone has dozens of such power sources in their house these days, right?
I recommend you check this new product out, it is very cool, and you could easily pair this up with some Olight Spheres to create a very cool party atmosphere in your house. Olight keep coming up with incredible ideas for their products, this is another brilliant one.


