One of the most consistent things that Olight does is produce high quality products, and then improves on them in notable ways. Olight has done that again with Oclip Pro, which is a remarkable little EDC light. I want to highlight how useful this light is by comparing it to its predecessor, and also looking at some of the different situations in which you can use this. I carry an Olight torch in my pocket wherever I go, because there are any number of reasons why I may need to use a light around the house, in the yard, in the car, or when I am out and about. You once had to carry quite a large light to get the kind of power new LED light’s have, but no more, now you have a range of different options that can fit into your pocket.
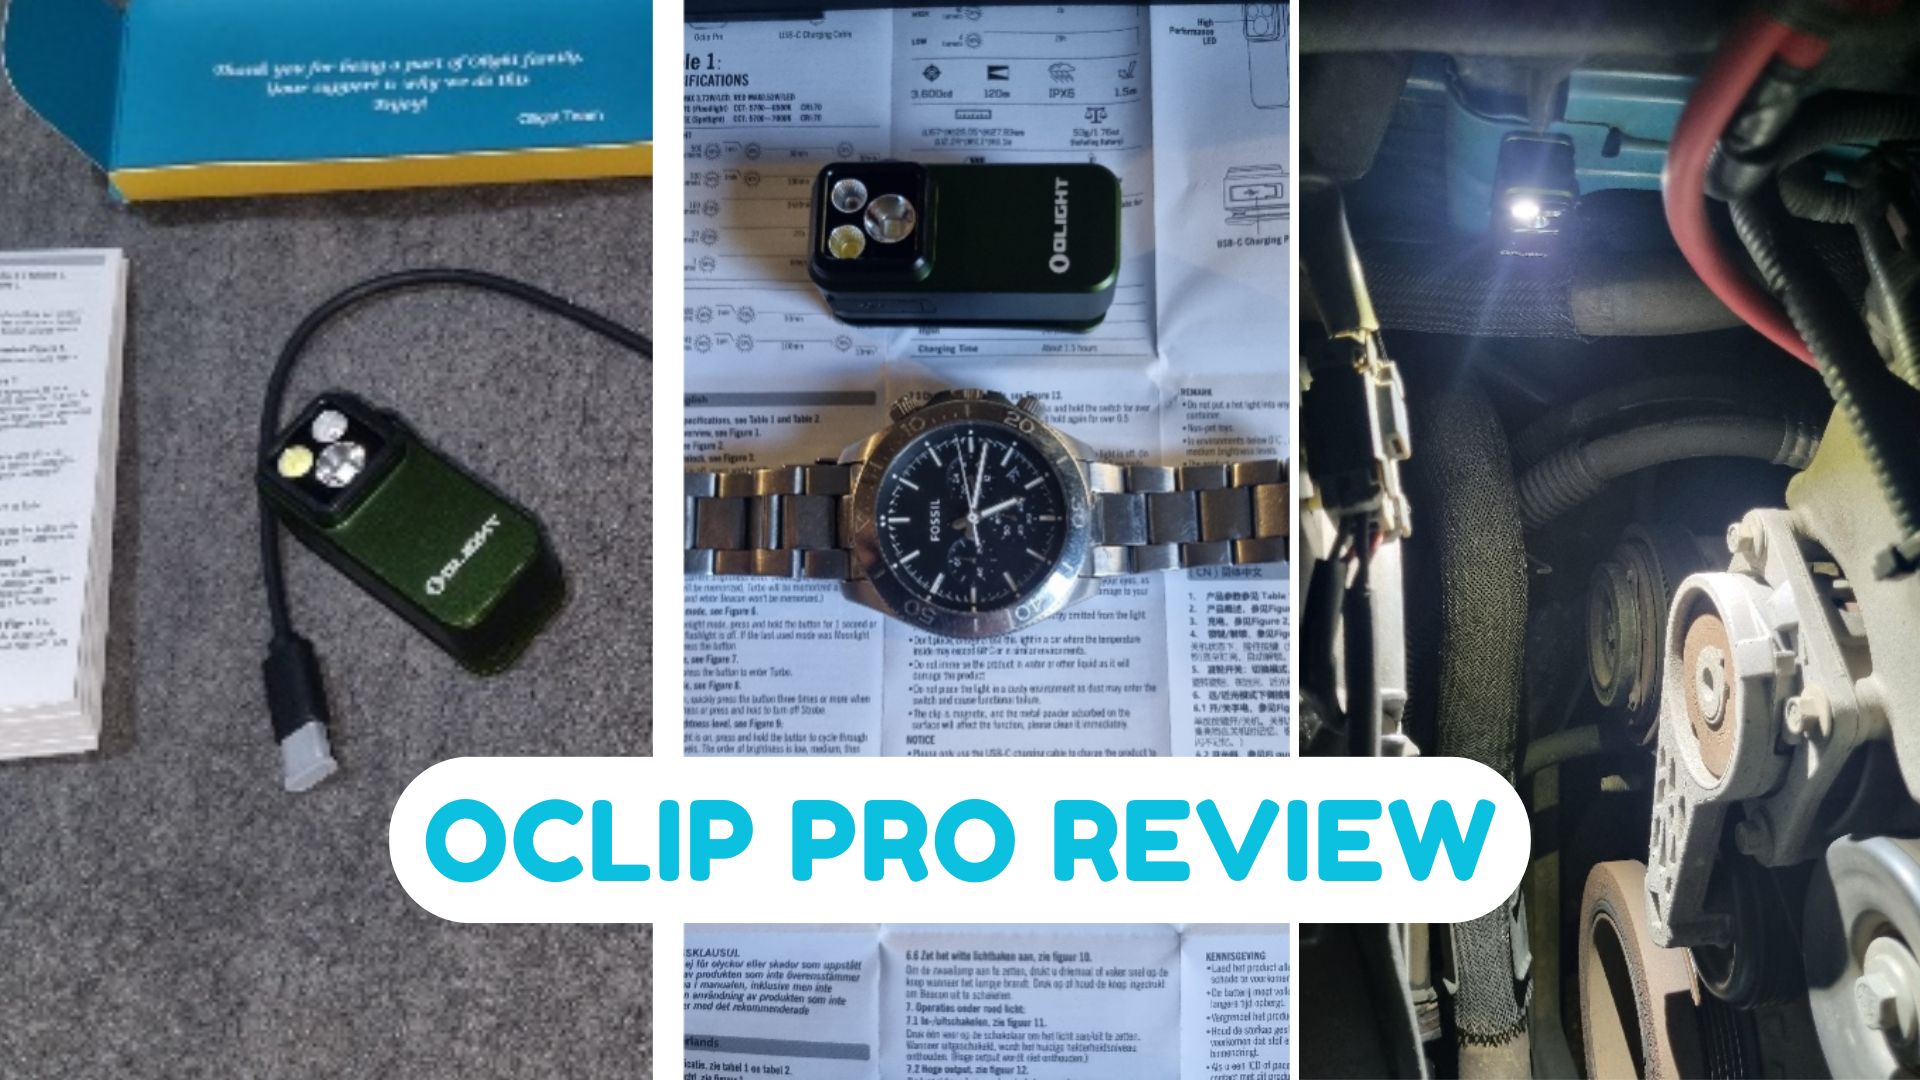
As with all Olight products the Oclip comes in high quality packaging, so you know that the product you have ordered is going to come in the mail in good condition. Here is what you get in the box:
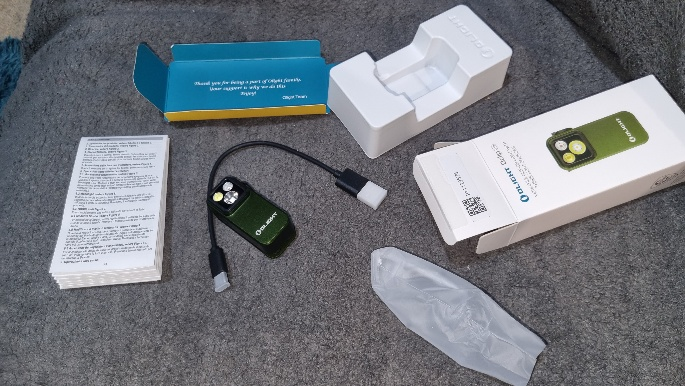
Figure 1: Oclip unboxed
In the box you get the Oclip itself, a USB-C to USB-A charging cable, and the manual. As usual the charging cable is a good quality one, similar to the quality of a phone charging cable. I would not recommend using cheap cables to charge your Olights, because you want to look after them. Cheap unreliable cables can be the death of a good electronic device.
This light is tiny. It is an everyday carry torch, so you don’t want it to be big. Here is a photo of the Oclip next to my 44mm watch for a size reference:
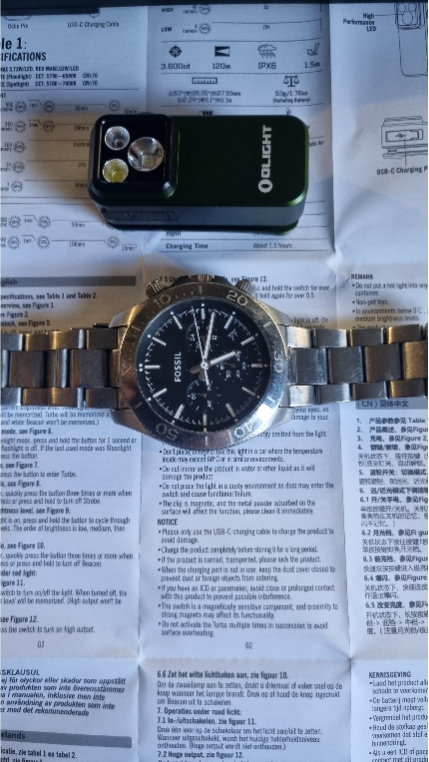
Figure 2: Oclip Pro next to my 44mm watch.
The actual dimensions of the Oclip Pro are length 57mm, Width 28.05mm and Height 27.83mm. So, as I said, this is a tiny light that can easily fit into your pocket. But remember this in the Oclip Pro, so just like the Oclip original this light can clip onto your shirt pocket, your collar, your jacket pocket, or any pocket on your shorts, or even your belt. This clip is not going to come off very easily, either, because it is well made.
Ok, now let’s compare the Oclip Pro to the original Oclip. The first generation Oclip had one LED light, that was capable of 300 lumens, for 1 minute on its highest setting. 100 lumens for 90 minutes. 10 lumens for 12 hours, and 1.4 lumens for 30 hours on the moonlight setting. It also had a red light setting that allowed for 4 lumens for 5 hours. The original Oclip was charged via USB-C, and it took 1.5 hours for it to charge to full, with a 5v/1A charger. The original Oclip is slightly smaller than the new Pro version. It is 48.5mm x 21mm x 23mm, so it is also very pocketable and portable. The light on the Oclip has a maximum range of 70 meters, and IPX5 waterproof rating, and can be dropped 1.5 meters safely, without breaking. The original Oclip had a magnetic base, a lanyard hole, and a high-quality clip, for clipping it to your shirt or a pocket.
With the new Oclip Pro you get several additional and upgraded features. The new Oclip Pro comes with three LED’s, two white lights and one for red. There is the floodlight, with a maximum setting of 500 lumens at 100% for 1 minute on turbo. 300 lumens for 1 minute at 100%, then 100 minutes at 60%. All the way down to the moonlight setting, which allows for 1 lumen for 6 days of usage on its lowest setting. There is a 100 lumen and a 10 lumen setting as well, above the moonlight setting.
Next there is the spotlight beam. This has a maximum setting of 380 lumens for 1 minute on turbo. 240 lumens for 100 minutes at 100% on high, and 100 minutes for 63%. With a medium setting of 85 lumens, a low setting of 9 lumens and a moonlight, or very low setting, moonlight, of 1 lumen, which will last again for 6 days.
And, as noted there is also the red light which has a high setting of 40 lumens that lasts for 4 hours and a low setting of 4 lumens, that lasts for 29 hours.
The new Oclip Pro has a maximum range of 120 meters, can be dropped 1.5 meters, the same as the earlier Oclip, and it has an increased rating of 1PX6 waterproofing. It also charges to full power in 1.5 hours. The Oclip Pro also has a magnetic base and lanyard whole just like the original Oclip. So, the new Oclip Pro is several steps above the original Oclip in various ways, and on par with charging and toughness. This is a fantastic little EDC light.
When I first started using this light, I did not know straight away that this light had a magnetic base. I like to use my lights for a bit before I look through the manual, to see how intuitive they are. I just saw it as a very useful clip on torch that I could clip onto my pocket at night while working in the garage or shed. But one day I went to pick it up and noticed that my pocketknife was stuck to the rear of the Oclip Pro. Low and behold I realized this light has a strong magnet on the back. These magnetic functions on the Olight products are incredibly useful. I have a metal pillar on my staircase right next to my couch in my office. It is difficult to get light exactly where I sit to read, but with the Oclip pro this problem is completely solved, I can just put this light next to me on the floodlight setting, and it will work as a reading light for some time.
You can also use this magnetic function on a car bonnet, if you are working on the car at night. And because of the size of this magnetic light you can attach it to some of the harder to get areas inside the car bonnet so that you can see what you are working on. No longer do you have to clumsily hold a torch or wear a headlamp that can get in the way. You can just attach this light to any metal surface and it will work like charm. I can’t stress how useful this is.
But it is not just the magnet that is useful. This light, as I have said, is small enough to carry in your pocket, or clip to your shirt, shorts or belt, so that you can use it while on the move. I have already been making use of the light in my garage quite a bit in just this way. This is a great everyday carry light, but it would also be a perfect emergency light to put into your car globe box, or into a small survival kit. The light is tiny, has an incredible battery life on the lowest settings, and would therefore be incredibly useful in a host of emergency situations. If you are having to work on your car by the side of the road at night, this light is perfect. And because it has a locking function, you are able to store it for future use and know that it won’t accidentally turn on and drain the battery, like a conventional torch would.
Here are a couple of examples of the light in use. The first example is using the Oclip Pro in the actual engine bay of my car:
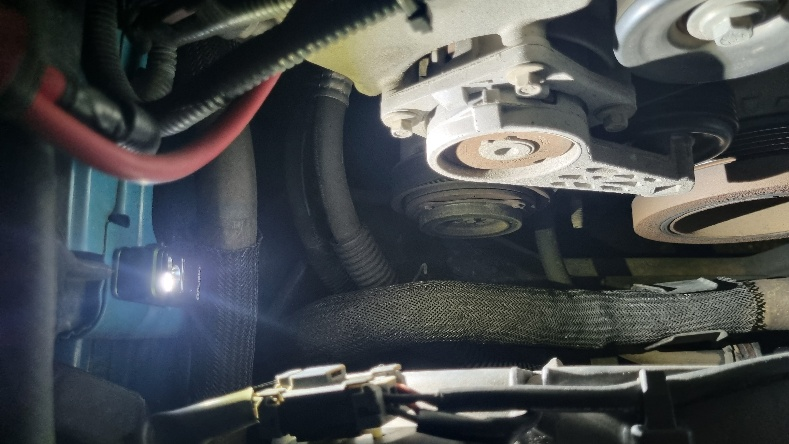
Figure 3: The Oclip Pro in my engine bay.
As you can see it gives enough light that you could easily see what you are working on. And because of its size it is not in the way.
Here, in this second example, is a picture of the Oclip Pro attached magnetically to the inside of my bonnet, so I can see the whole engine bay:
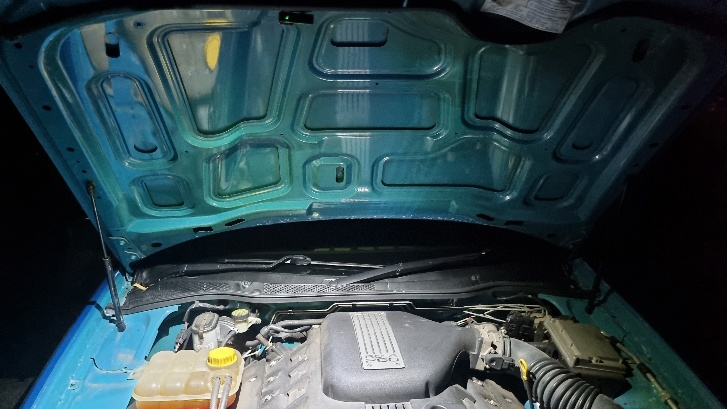
Figure 4: The Oclip Pro on my bonnet.
In both these pictures the light is on its highest setting on floodlight mode.
I have already touched on the modes a bit, but let me summarise all of them here. You have 5 levels of brightness for floodlight mode, 5 levels of brightness for spotlight mode, and two levels of brightness for redlight mode. You also have a strobe light, and a beacon setting, both of which would be useful in an emergency situation, for instance if you were broken down on the road, or lost and injured while out hiking and needed to signal your location. The uses of this light are many and diverse.
There is no doubt that Oclip original was a fine EDC light, but the Oclip Pro is a step above it predecessor. The Oclip original is $45.95 on the store, and the Oclip Pro is $59.95. If you have neither and you are looking at which one to get, I would highly recommend getting the Oclip Pro. It is just as well built, more powerful, and more versatile, and has extra functions you will not find on the original Oclip. It is worth the upgrade from the original as well. I strongly recommend this light. I have found it to be a handy multiuse light to carry around.


![[ New Product ] Ostation X: Drop. Charge. Go. Power a Sustainable Future](https://cdn.olightstore.com.au/image/ostation-x-ncyqw7.jpg@85q.webp)
![[ New Product ] Illuminate the Distance with Wireless Ease: Javelot Turbo 2](https://cdn.olightstore.com.au/image/javelot-turbo-2-v2iztl.jpg@85q.webp)
